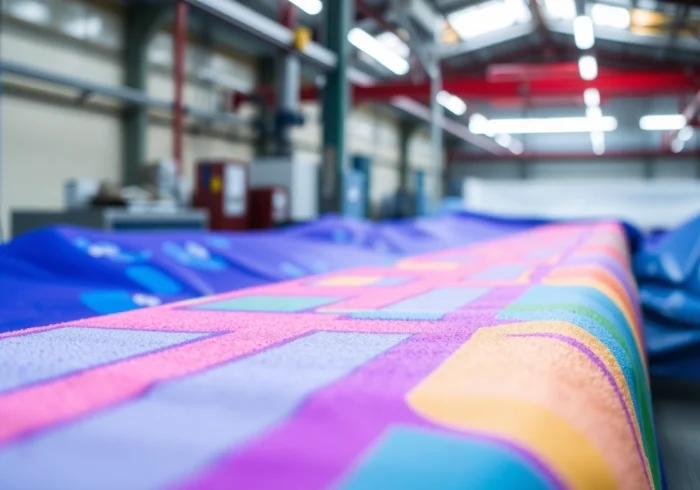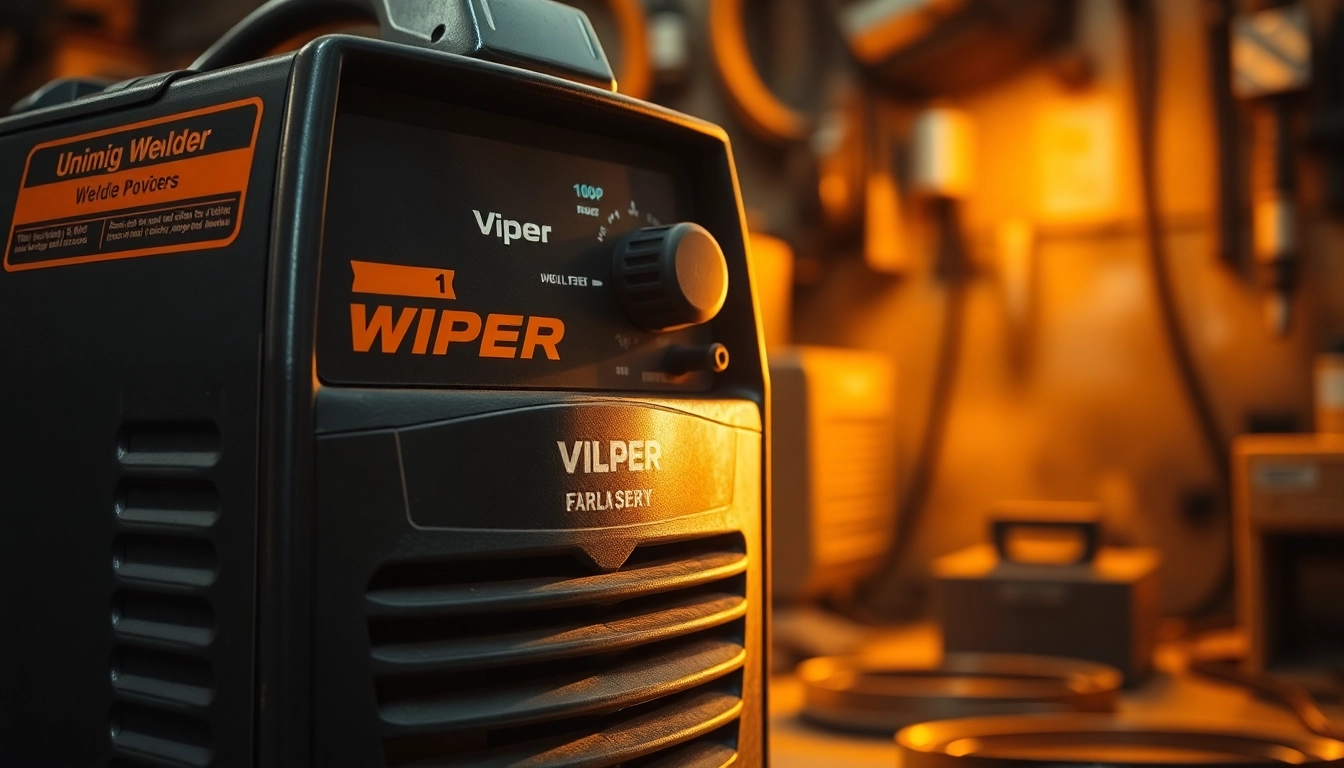
Introduction to the Unimig Viper Welder
The Unimig Viper series has become a staple in the welding community, recognized for its versatility, reliability, and innovative design. One of the standout models in this line is the unimig viper, which is celebrated for its multi-process capabilities, accommodating MIG, TIG, and stick welding. In this article, we will explore the features, capabilities, and ideal applications of the Unimig Viper welders, with a particular focus on the Viper 185 model and beyond.
Overview of Features and Capabilities
The Unimig Viper welders are engineered for versatility. The Viper 185 is a perfect example of modern welding technology. It boasts an impressive set of features, making it suitable for both novice users and experienced welders. Here are some key features:
- Multi-Process Versatility: The Viper 185 can perform MIG, TIG, and stick welding. This flexibility allows users to tackle a variety of welding projects—from home repairs to professional tasks.
- Compact Design: Weighing in at just over 10 kg, the Viper 185 is portable. This lightweight design makes it easy to transport to different job sites.
- Powerful Performance: With an output range between 30 and 185 amps, it can effectively handle materials of varying thicknesses, up to 10mm in MIG mode.
- Synergic Controls: The machine features hybrid controls that adjust independently, making it easier for users to set parameters according to their specific needs easily.
- Thermal Overload Protection: This safety feature ensures that the welder does not overheat, extending its lifespan and maintaining consistent performance.
Key Models: Viper 185 and Beyond
The Viper 185 stands out among its peers in the Viper series, but there are other notable models as well.
For instance, the Viper 135 is an even lighter model, designed for those requiring ultra-portable solutions without sacrificing performance. In contrast, the Viper 195 MAX enhances power, making it ideal for more demanding tasks.
Each model in the Viper series shares common features while catering to varying user needs—ensuring everyone from hobbyists to professionals can find a suitable option.
Who Should Use the Unimig Viper?
The Unimig Viper welder series is designed for a broad audience including:
- Hobbyists: Ideal for DIY enthusiasts looking to complete home projects or automotive repairs with ease. The Viper series offers the functionality needed for diverse applications without being complicated to use.
- Contractors: Suitable for professionals looking for a reliable portable welding solution that can handle light to medium industrial tasks.
- Technicians: Those in fields requiring precision welding can benefit from the synergic controls and performance capabilities.
The intuitive design makes it accessible to newcomers while not compromising on technical sophistication necessary for advanced users.
Comparative Analysis: Unimig Viper vs Competitors
With numerous options available, it’s essential to understand how the Unimig Viper series stacks up against competitors.
Performance Metrics against Similar Models
When compared to similar models such as the Miller Millermatic 255 or the Lincoln Power MIG series, the Unimig Viper 185 holds its ground in various performance metrics:
- Welding Range: While many competitors offer a higher maximum amp output, the Viper 185’s synergy between affordability and features appeals widely to users who do not need the highest outputs.
- User-Friendliness: Competitors may include advanced features but often at the cost of user-friendliness. The Viper’s intuitive controls provide a significant advantage for less experienced users.
- Warranty and Support: Unimig offers customer support tailored to its user base, providing assurance unmatched by numerous competitors.
Price Point Analysis and Value Proposition
The price point for the Unimig Viper series, especially the Viper 185 at around $999, is competitive when considering the comprehensive features included. This price point positions it as an attractive option for both hobbyists and professionals alike who aim for a balance between functionality and affordability.
Many competing models, while possibly offering advanced features or higher output, do not match the Viper’s versatility across processes within the same budget range. This clear-cut value proposition reinforces its presence in the welding market.
User Reviews and Feedback Summary
User reviews consistently highlight the Unimig Viper’s performance in home and light industrial applications. Many users appreciate the compact design and multi-process capabilities, making it a true all-in-one solution. Common feedback includes:
- Ease of Use: New users report excellent learning experiences due to the intuitive interface.
- Reliability: Many reviews commend the construction quality, stating that it’s durable and maintains performance even under various conditions.
- Support: Users appreciate the robust customer service provided by Unimig, which improves their overall experience and confidence in the brand.
Setting Up Your Unimig Viper
A successful welding experience begins with a proper setup. Here, we outline essential steps to set up your Unimig Viper welder effectively.
Essential Tools and Accessories Needed
Before you start, ensure you have access to the following essential tools and accessories:
- Protective Gear: Safety glasses, gloves, and helmets are non-negotiable.
- Gas Supply: For MIG welding, ensure an appropriate gas supply for shielding.
- Work Clamp: This is critical for grounding purposes.
- Welding Wire: Select the right diameter based on the welding process.
- TIG Torch / Stick Electrodes: Depending on the welding process you’re pursuing.
Step-by-Step Setup Guide
- Unbox and Inspect: Carefully unbox your Unimig Viper, checking for any damage and ensuring all parts are included.
- Connect to Power Supply: Ensure your power source matches the welder’s ratings (10A plug recommended) and plug it into a suitable outlet.
- Install the Welding Wire: Load the spool using the manufacturer’s instructions, adjusting the tension as needed.
- Set up the Work Clamp: Attach the ground clamp securely to your workpiece to prevent loose connections.
- Configure Settings: Based on your project, adjust the welder’s settings, including amperage, wire feed speed, and process mode (MIG/TIG/Stick).
- Test Run: Perform a test run on scrap material to ensure all settings are accurate before the final weld.
Common Setup Mistakes to Avoid
Even seasoned welders can make mistakes during setups. To maximize performance from your Unimig Viper, here are common pitfalls to avoid:
- Incorrect Settings: Always Double-check settings before starting your weld. Poor initial settings can lead to unsatisfactory results.
- Neglecting Safety Protocols: Failing to wear appropriate safety gear is a serious hazard that should never be overlooked.
- Inadequate Grounding: Ensuring your workpiece is grounded correctly is crucial for safe and effective welding.
Welding Techniques with the Unimig Viper
Understanding different welding techniques is essential for mastering the Unimig Viper. Here, we will explore the various methods available alongside best practices and project recommendations.
MIG, TIG, and Stick Welding Explained
The Unimig Viper series supports three major welding techniques:
- MIG Welding: Ideal for beginners, this method utilizes a spool of wire fed through the gun nozzle. It’s excellent for joining metals like steel and aluminum.
- TIG Welding: More complex than MIG, TIG offers precision and control. An inert gas shields the weld area while a separate tungsten electrode provides the arc. This method is typically used for thin materials and provides cleaner results.
- Stick Welding: Utilized for thick materials, stick welding melts the electrode, producing a strong bond. It’s less dependent on shielding gas, making it suited for outdoor use.
Best Practices for Each Welding Method
Each welding method requires specific techniques and careful attention:
- MIG: Maintain a steady hand, keeping the nozzle at the correct angle and distance from the workpiece to minimize spatter.
- TIG: Use the foot pedal for precise control over the amperage and ensure your torch angle is consistent to achieve cleaner seams.
- Stick: Keep the rod at the right angle (around 15 degrees) to maintain an effective arc length, ensuring a strong bond.
Projects Ideal for the Unimig Viper
The versatility of the Unimig Viper makes it suitable for numerous projects. Here are some examples:
- Automotive Repairs: Perfect for bodywork and frame welding.
- Metal Fabrication: Ideal for custom furniture or artistic metalwork.
- Home Improvement: Great for constructing gates, railings, and household repairs.
Maintenance Tips for Longevity
Regular maintenance is vital for ensuring the longevity and effectiveness of your Unimig Viper welder.
Daily Maintenance Checklist
Follow a routine to keep your welder in optimal condition:
- Inspect for any physical damage or wear on components.
- Check the wire feed mechanism for smooth operation.
- Clean the torch and nozzle to prevent clogs.
- Examine and replace any worn cables or connections.
When to Service Your Machine
Recognize signs that your welder requires professional servicing, which may include:
- Uneven arc characteristics during the welding process.
- Excessive overheating during normal usage.
- Unsolicited tripping of internal safety mechanisms.
Ensuring Safety and Compliance
Compliance with safety guidelines is crucial when operating any welding equipment. Ensure the following:
- Work in a well-ventilated area to reduce exposure to harmful fumes.
- Wear appropriate PPE (Personal Protective Equipment) at all times, including welding jackets, gloves, and face shields.
- Keep a fire extinguisher nearby and ensure a clear understanding of emergency protocols.