Understanding the Basics of Drywall Painting
Drywall painting is an essential aspect of home improvement and interior design. It transforms the walls of a room, providing color and personality to your living space. Whether you’re painting newly installed drywall or refreshing an old paint job, proper techniques and methods are crucial for achieving a smooth finish. In this comprehensive guide, we will cover everything you need to know about drywall painting, from preparation to application, and beyond.
What is Drywall Painting?
Drywall painting involves applying paint to drywall surfaces, which are commonly used in residential and commercial buildings for interior walls and ceilings. This process is not simply about slapping on a coat of paint; it requires understanding the properties of drywall, the paint, and the overall environment. Options range from latex and acrylic paints to specialty formulas designed specifically for drywall, enabling homeowners to achieve the desired aesthetics and durability.
Importance of Surface Preparation
Surface preparation is arguably the most critical step in the drywall painting process. Properly preparing the surface ensures that the paint adheres well, looks uniform, and lasts longer. Key steps include:
- Cleaning the Surface: Remove dust and debris using a vacuum or damp cloth. This step is crucial, as any leftover particles can affect adhesion.
- Patch Imperfections: Fill any holes, cracks, or seams with joint compound. Once dried, sand these areas smooth to create a perfect surface for painting.
- Priming: Applying a primer is essential, especially for new drywall, as it helps seal the surface and provides better coverage for the paint.
Common Mistakes to Avoid
Even seasoned DIYers can make mistakes during drywall painting. Here are some common pitfalls to avoid:
- Skipping Primer: Neglecting to use a primer can lead to uneven color application and may result in paint peeling over time.
- Poor Lighting: Don’t underestimate the importance of good lighting while painting. Poor visibility can lead to missed spots and uneven coverage.
- Rushing the Process: Each phase of painting, especially drying times, should be respected to ensure a high-quality finish.
The Right Tools and Materials for Drywall Painting
Having the right tools and materials can make or break your drywall painting project. Let’s explore what you need to achieve a professional finish.
Choosing the Right Paint
Choosing the right type of paint is vital for ensuring the longevity and appearance of your drywall. For interior walls, latex paints are generally favored due to their durability and ease of application. Here are some considerations:
- Acrylic vs. Latex: Acrylic paints tend to offer better adhesion and flexibility, while latex paints are easier to clean and typically emit fewer odors.
- Finish Options: Matte finishes hide imperfections well, while eggshell and satin finishes provide a slight sheen that can enhance color vibrancy and make cleaning easier.
- Color Selection: Lighter colors can make a room feel larger, while darker shades create a cozy atmosphere. Always test a small patch before committing to a color.
Essential Tools for a Smooth Finish
Equipping yourself with the right tools is crucial for a seamless drywall painting job. Here are the essentials:
- Paint Roller and Brushes: A roller will cover large areas efficiently, while brushes are ideal for edges and corners.
- Drop Cloths: To protect your floors and furniture from paint splatters and drips.
- Tape: Painter’s tape ensures clean, professional-looking edges when painting.
- Sandpaper: For smoothing any patched areas before painting.
- Ladder or Step Stool: Necessary for reaching higher walls and ceilings safely.
Benefits of Quality Primer in Drywall Painting
Using a high-quality primer can greatly enhance your painting project. Primers serve as a barrier between the drywall and paint, helping with adhesion and color depth. Benefits include:
- Even Coverage: Primers help the paint to go on more evenly, reducing the number of coats needed.
- Stain Blocking: They seal stains, preventing them from bleeding through the final paint job.
- Moisture Resistance: Some primers are designed to combat moisture, which is particularly useful in bathrooms and kitchens.
Step-by-Step Guide to Drywall Painting
Now that you’re equipped with the knowledge and tools, let’s dive into a detailed step-by-step guide for painting drywall.
Preparing Your Walls for Painting
This stage is crucial for achieving a high-quality finish. Follow these steps:
- Clean the Walls: Dust and grime accumulate on walls. A thorough cleaning will help the primer and paint adhere better.
- Patching: Check for cracks and holes. Use joint compound or spackle and a putty knife to fill any imperfections, then allow it to dry completely.
- Sand the Surface: Once patched, sand the areas smoothly so they blend with the wall. Transition areas should be seamless to avoid a noticeable difference once painted.
- Prime the Walls: Apply a quality drywall primer using a roller and brush for edges. This creates an ideal surface for the paint.
Applying Primer Effectively
Once your walls are prepped, it’s time to apply the primer. Here are some tips:
- Work in Sections: Focus on a square or rectangular section of the wall at a time for more control.
- Use a Roller: Roll the primer on with a thick nap roller for a smooth finish. Use a brush for corners and tight spaces.
- Allow to Dry: Ensure that the primer is completely dry before proceeding with paint. This typically takes a few hours.
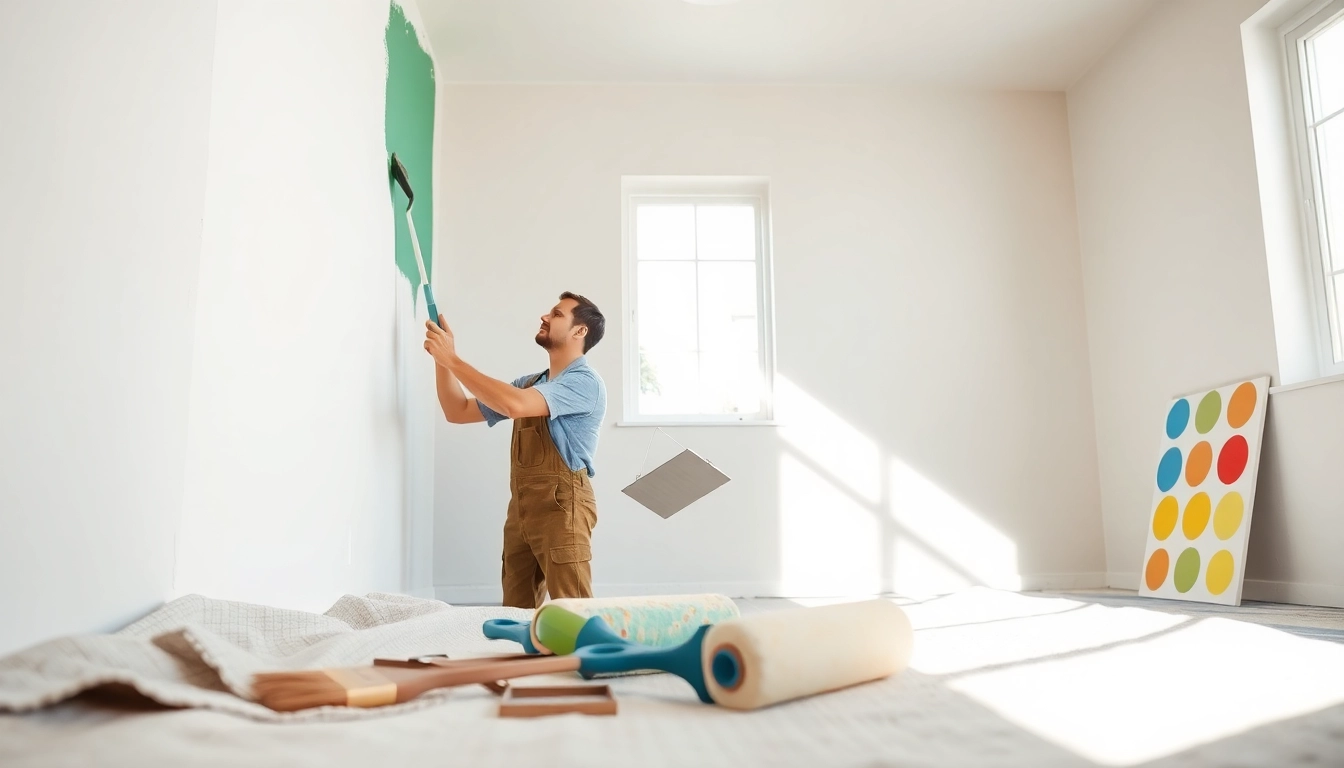
Rolling and Brushing Techniques
Applying paint correctly is paramount for a flawless finish:
- Start with Edges: Use a brush to cut in around windows, doors, and corners before using a roller on the large surfaces.
- Roll On Paint: Use a roller for the main wall sections, applying even pressure to avoid streaks. Work in smaller sections to maintain a wet edge.
- Multiple Coats: Depending on the paint and color, you may need 2-4 coats. Allow adequate drying time between coats.
Advanced Techniques for Professionals
As you become more skilled in drywall painting, consider these advanced techniques to elevate your work.
Texturing Techniques for Added Depth
Adding texture to drywall can create a unique visual appeal. Techniques include:
- Knockdown Texture: Created by spraying joint compound onto the wall and then flattening it with a trowel after it partially dries.
- Popcorn Ceiling: Best for ceilings, it involves spraying a texture that creates a rough surface.
- Brushed Techniques: Applying paint with a brush in different directions can create depth and interest.
Managing Paint Drying Times
Understanding paint drying times is essential for planning your project effectively:
- Temperature and Humidity: These factors significantly influence drying times. Higher temperatures can speed up drying while high humidity can slow it down.
- Ventilation: Proper airflow can help paint dry faster and more evenly. Open windows or use fans to maintain good ventilation.
- Monitoring Curing Time: Always check manufacturer guidelines for specific drying times to prevent smudging or damage to the paint.
Tips for Tackling Difficult Areas
Every painter encounters tricky spots. Here are tips for handling them effectively:
- Corners: Use a good quality angled brush for cutting in around corners and edges to avoid drips.”
- Behind Fixtures: Remove switch plates and outlet covers to paint behind them easily.
- Ceiling Edges: Use painter’s tape to achieve crisp lines between different colors or surfaces.
Maintenance and Post-Project Considerations
After your drywall painting project is complete, the focus shifts to maintenance and appropriate care for longevity.
Cleaning Up After Drywall Painting
Efficient clean-up can save you time and hassle. Here are steps to follow:
- Dispose of Unused Paint: Properly dispose of any leftover paint according to local regulations. Many places have recycling programs.
- Wash Brushes and Rollers: Clean your tools immediately after use to extend their life. Use warm, soapy water for latex paints and solvents for oil-based paints.
- Remove Tape: Pull painter’s tape off while the paint is still wet for a cleaner edge.
How to Touch Up Paint on Drywall
Touching up paint can seem daunting, but it’s often necessary to maintain aesthetic continuity:
- Identify Areas Needing Touch-Up: Look for scuffs, dents, or fading areas of paint.
- Use the Same Paint: Always use the same paint type and color for touch-ups to ensure consistency.
- Feathering Technique: Apply the paint blending it softly into the surrounding area to avoid noticeable patches.
Recognizing When to Repaint
Knowing when to repaint can preserve the beauty of your interior spaces:
- Fading and Wear: When a paint job looks tired or faded, it’s likely time for a new coat.
- Changes in Color Trends: Interior design trends change, and you may want to refresh your space with newer colors.
- For Damage Repair: Stains, scratches, or damage might necessitate a patch job or complete repaint.